
Below is an outline of the basic steps for one technique to construct a model and have it printed by Shapeways. Click any one of the pictures for a more detailed description, and to download the file(s) for that step.
The steps I've used below are what I use, and are in part based upon specific graphic tools. You will need to adapt them for the tools that you decide to use.
Click any Step below to get started.
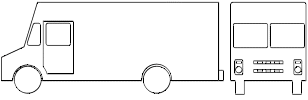
| Step 1: find a reference photo |
|
| Step 2: edit the drawing |

|
| Step 3: convert to DXF or SVG |
|
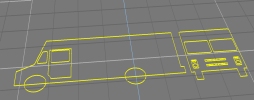
| Step 4: import into TrueSpace or Blender |
|
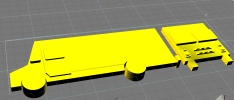
| Step 5: extrude the shapes |
|
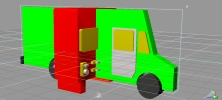
| Step 6: rotate and position the shapes |
|
| Step 7: merge the shapes | no picture |
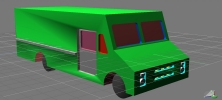
| Step 8: enhance details |
|
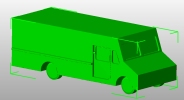
| Step 9: export as STL |
 |
| Step 10: upload to Shapeways |

|
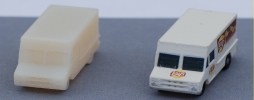
| Step 11: order, paint and enjoy |
|